Search This Blog

Showing posts with label copper. Show all posts

Sunday, June 23, 2013

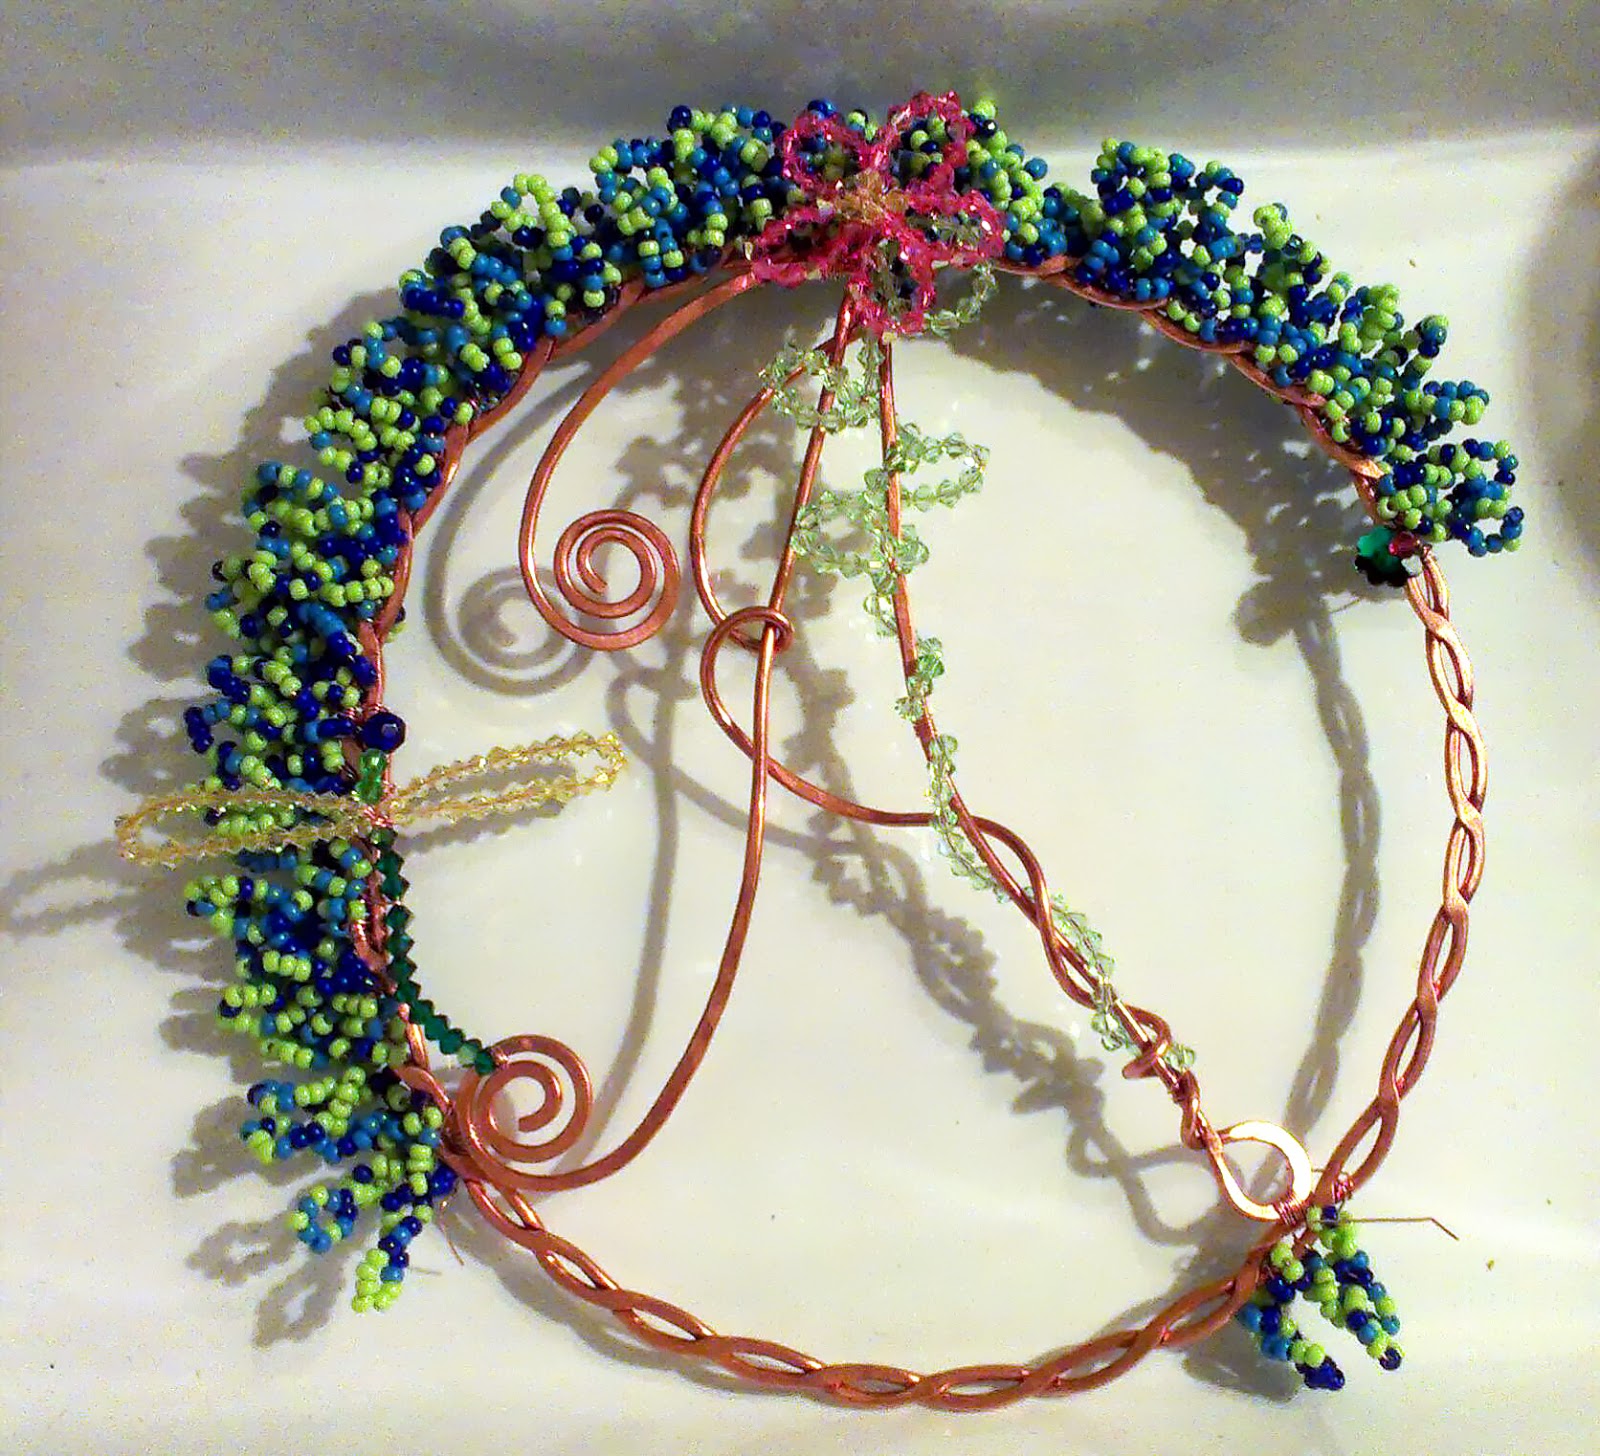
Beaded Copper Wreath

This is a wreath/suncatcher that I made for my neighbor's baby.  The frame is 12 gauge round copper wire, twisted and then hammered flat to create open links so beads can be wired to it.  The wreath is 8" in diameter.  I got lucky with this - the baby's nursery contained colors of beads that I already had.  The seeds around the outer rim of the frame are 8/0 Toho in three shades of blue and grass green.  The inner rim of the wreath has been wired with 4mm Swarovski crystals in Dark Rose AB (I think that's the color!).  I have tons of these from a bulk purchase I made years ago. The flower is also Swarovski, in 4mm using the same pink for the flower, yellow 3mm for the center, and 4mm chrysoprase (again - I think this is the color!) for the stem and leaves.  The dragonfly is a mix of Swarovski pinks and sizes.

The initial in the middle is a stylized A, made from 14 ga round copper wire, and selectively hammered. It's a heavy piece!


You can see the frame below.  The frame, by itself would be lovely, but I wanted to match colors with the little new person's nursery.  Actually, the frame is pretty versatile.  You can use it for a lot of different decorative purposes.  It's sturdy and if you don't solder, it's easy to wire the ends closed so they never come apart.  If you're using the frame without decoration on it, I suggest soldering so the wires don't show.  


Wednesday, May 29, 2013

Hammered Copper Sweater Pin

So, I saw something similar to this recently and I thought, "Hey- I have all that 14 and 16 ga wire.  This is a good use for it!  So I decided to try a pin.  I already knew how to make a pin back, since I'm a metalsmith (without an equipment-filled studio at the moment!), and I wanted something that was completely cold-connection because it can be difficult to solder heavy gauge metal with a micro-torch.  This is two pieces of  16 ga wire.  It's sturdy and it is most definitely a sweater pin.  You don't want to put that pin back in a tee shirt or delicate blouse.  You'll have a hole that won't go away.  But for cardigans, winter scarves, and more loosely or bulky knitted items, this is a fabulous accessory.

I re-learned a few techniques on it, and one of the basic rules of metal working:  get your shape the way you want it BEFORE hammering.  DUH.  Naturally, there will be a few adjustments to make afterwards, but for the most part you want your piece to be in the shape you want it to be before you start hammering it.  Hammering, and working the wire in any fashion will work-harden it.  This is dead soft wire, stripped from an electrical cable.  I have tons of it.  Stripping it is difficult because you can't use wire strippers.  They mar the metal and create weak points.  I strip mine by laying it on a piece of plywood and using an exacto-knife very carefully.  Give it a try - this was quick and easy to make and while I'm going to re-make it, since this was a prototype, I'll wear this one this winter.

Remember, when making your pin back, you must twist that wire until it's straight and it provides tension against the clasp or hook.  I don't have the hook on this yet, but that pin back won't buckle under pressure. Also, when filing the end to a point, remember that sharp objects can draw blood and tear clothing, so don't make it too sharp.  It's for sweaters - it doesn't have to be super sharp.


Tuesday, February 14, 2012

And Now For Something (Almost) Completely Different!

Started this two months ago and then, in my usual ADD fashion, allowed the call of pretty new beads to lure me away.  Finished the basketweave and everything else tonight.  It's an agate slice wrapped in pure copper viking basketweave, topped with a brown iris druk teardrop and copper tube for the hang hook.  The bottom is hung with copper shadow Swarovski (I think that's the name) 6mm, and two copper tubes terminating in the same Swarovski bicones.

To me, it's got kind of a dream catcher-ish look to it.  I like it.  It's not my usual suncatcher fare and I hope to rephoto tomorrow as it hangs in my window (prior to being placed for sale in my shop) with the sun streaming through it.