Search This Blog
Showing posts with label victorian beading. Show all posts
Thursday, November 3, 2011
Amazing What You Can Do With Beads!
This is a beaded garland that I finished up about 3 weeks ago. It just sold at the local gift shop. It's approximately 4 feet long, with a mix of brightly colored beads spun on craft wire. The embellishments range from french beaded flowers to Swarovski crystal dragonflies and lots of stuff in between. It's a great way to let your imagination loose. The woman who bought this is using it on her Christmas tree this holiday season and then will use it in her sun room, looped and swagged in front of the windows so the crystals catch the light.
Labels:
beaded flowers,
beaded garland,
beaded suncatcher,
french beaded flowers,
swarovski,
victorian beading
Monday, May 23, 2011
Beads, Flowers and Dragonflies!
I originally created this as a spiraled suncatcher and then I thought: "Hey - it's wire - it's got lots of uses!" So I wrapped it around a black metal wall sconce. While it's not long enough to go around the way I wanted it to, it gives me the inspiration to make some that ARE long enough. This is created from beads spun onto 24 ga wire - just a random selection of leftover beads, french beaded leaves, victorian beaded flowers, lucite flowers with Swarovski Crystal stamens and pistils and Swarovski Crystal dragonflies with beaded wings. It was easy, fun and it's truly beautiful. (If I do say so myself!) I just sold one like this at the gift shop where I sell some of my work - AND a photo of a piece similar to this one was featured in the Baltimore Sun this past Saturday! YAY!
Labels:
bead spinner,
beaded dragonflies,
beaded suncatcher,
french beading,
lucite flowers,
swarovski crystal beads,
victorian beading
Thursday, April 14, 2011
Victorian Beading - Today's Flower
I love the colors on this one, but I didn't achieve the effect I was going for, which was a lacy, open look to the edges of the petals. A fellow artisan suggested the lacy, open look might succeed with a lighter-coloured flower, so I'll try that next.
The "space" you see between the petals is wire weaving where the petals were stitched together using wire. I wove it through the loops at the end of each bead row, joining the petals together.
These actually look lovely under low lights or candlelight because of the Swarovski Crystals in them.
Front View:
Side View:
And both flowers together: (can you tell I'm proud of them?) For a first try at this, I AM pretty proud. Now I have to get REALLY good at it.
Labels:
beaded flowers,
beads,
crystals,
swarovski,
victorian beading,
wire weaving
Wednesday, April 13, 2011
Victorian Beaded Flower - Using the Tutorial I posted here
I followed the tutorial I have posted here and just added my own touches. I didn't make the petals tapered on both ends, because I wanted to make a tulip. I made 7 petals and then "stitched" them into a cup-shape with wire. The stamens and pistils are Swarovski Crystals on wire and then fed down through the center of the flower and wrapped around the top of the stem (which was created by the leftover wires.
I modified the tutorial instructions a bit. Since my wires ended at the wide end and I wanted them ending at the narrow end, I just wove them down the sides of each petal. I then brought all the petals together by threading a wire through the bottom bead of each petal, making sure all the other wires were facing the outside of the flower and downward, pulling it tight and then wrapping it around the remaining wires, thus forming a "stem."
I "stitched" each petal to it's neighbor using wire, making sure I ended at the bottom, and secured those wires at the top of the "stem."
This is stupidly simple. Seriously. Each petal took me less than 10 minutes. The hardest part was stitching the last petal into place, since I was working in such a small area.
Try the tutorial. It's easy and it WORKS.
Now the photos:
Side View:
Front View:
Victorian Beading Tutorial
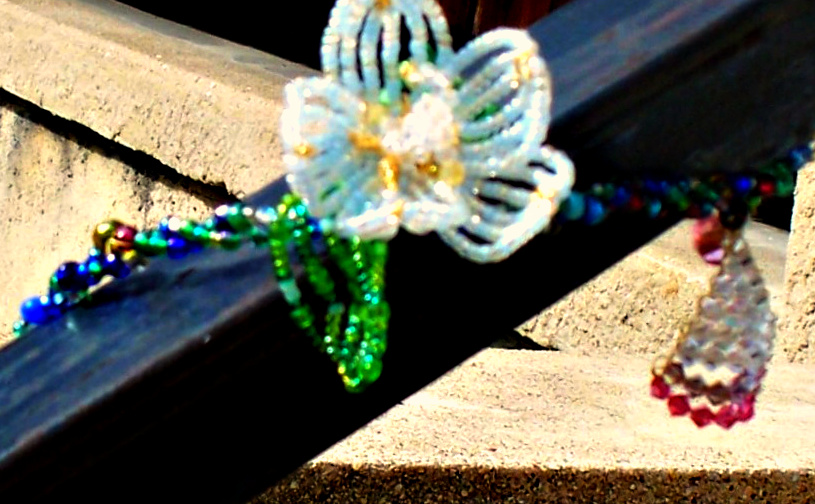
When I woke up this morning, I was all excited about attempting to make another beaded flower petal. It's the little things, you know. :) THIS tutorial is easy, and makes sense of what the diagrammed tutorial I used yesterday was saying. I'm a visual person, and watching her do this made the CLICK! go off in my brain. She doesn't say what gauge to use, but I would say use 28 or 30 gauge wire, dead soft. For jewelry, I'd use sterling silver wire - it simply adds a touch of elegance to the piece that it wouldn't otherwise have, and you can polish the wire that shows until it shines.
She only shows one petal here, but it's a very very helpful tutorial and you can build on it. Have fun!
She refers to her wire, at first, as "string." She means "wire."
You could do this with any small bead with a hole big enough to allow a double width of small-gauge wire to pass through.
This IS the technique I used last night, but it took me so long because the instructions I was using were NOT very comprehensive.
Enjoy!
Below she shows how to attach the petals together to make a flower. I would make several layers of petals and take some clear quilting thread, and holding the flower upside down, with the petals brought together in one hand and cupped (don't worry about bending them - you can shape them later) and stitch the petals approximately 1/4" from the bottom, all the way around. This will create a flower "hip" and will keep your flower petals from flopping. Then just bend your petals to create your flower!
And here she shows how to attach them to a stem. For this she is using heavier gauge wire, and you can also use floral wire and floral tape, if you desire. I prefer to bead my stems, though. That's a different technique than she shows here.
Labels:
beaded flowers,
beading,
tutorial,
victorian beading
Subscribe to:
Comments (Atom)


